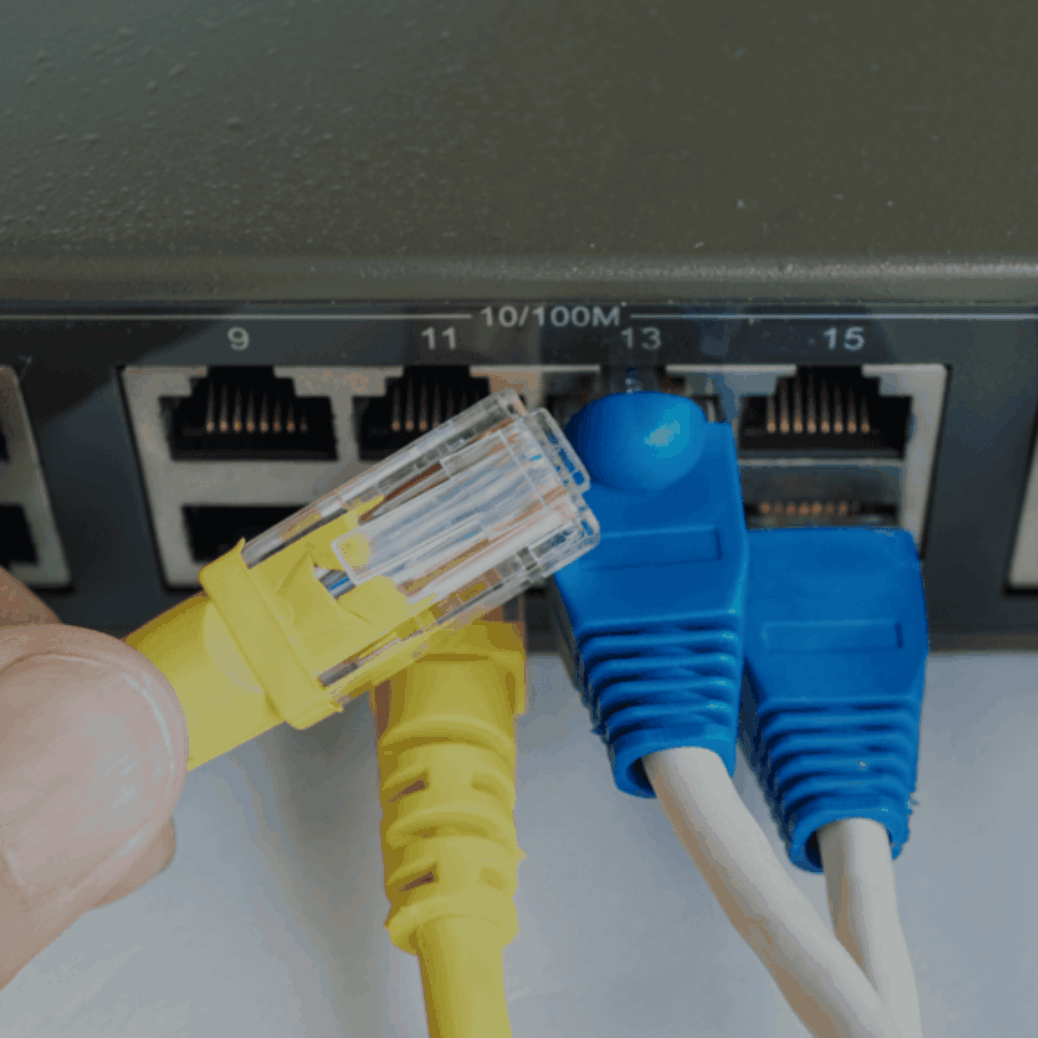
How to Properly Terminate Cat6 Bulk Ethernet Cables?

A slow network caused by poor Cat6 cable termination is one of the most frustrating issues. In the current highly competitive business environment, Cat6 cable installation and Ethernet services are the backbone of smooth operations, enabling faster speeds, more powerful connections, and less downtime. Many companies underestimate the importance of proper Cat6 cable termination.
This blog explores how to properly work with Cat6 cable termination connectors in order to maximize the effectiveness of your network. Learn step-by-step RJ45 termination, essential cable crimping tips, and when DIY Ethernet setups are appropriate. However, we will also point out where you should consider calling in the experts, whether it is professional data cable installers or a reputable structured cabling company, to avoid making mistakes that can be expensive and ensure a long, useful life.
By following this guide, you’ll master Cat6 termination and discover how professional Ethernet cable installation services protect your network from downtime and improve productivity.
Ensure Reliability with Professional Cat6 Cable Termination Services
Incorrectly terminated Cat6 cables can cause immediate and costly network issues. Improper terminations may cause signal loss, crosstalk, interference, and network speeds that are drastically reduced, all of which no business can afford in the data-driven environment. As an example, improper RJ45 termination or poor crimp connection can introduce instability, making the devices drop connections or operate at a slower-than-expected speed. Simple installation mistakes can spread across your network, turning a high-speed backbone into a constant source of frustration.
Following TIA/EIA industry standards ensures network stability and proper Cat6 cable termination. These standards will facilitate effective functioning and compatibility among devices within your network to make it stable and future-proof. While DIY Ethernet setups may seem tempting, relying on online tutorials and minimal cable crimping tips often results in errors affecting long-term reliability.
Professional data cable installers and structured cabling companies bring expertise, precision, and compliance to every project. When your Cat6 cable installation services work is done by experienced technicians, you can implement a network capable of providing the speed, security, and scalability your business demands, but not the risk that shortcuts involve.
In short, a rushed Ethernet installation versus professional services can mean the difference between downtime and hassle-free connectivity.
Master Ethernet Cable Installation Services with the Right Tools and Materials
Start by gathering all necessary tools and materials for Cat6 cable termination, whether DIY or professional. When it comes to professional Cat6 cable installation services, whether you are collaborating with a structured cabling company, availing the services of data cable installers who are professionals, or you are dealing with the Cat6 cable installation on your own, pre-planning is the way to success. This is because proper planning saves both time and money and ensures proper termination and long-term performance of RJ45. The following is what you will need:
Bulk Cat6 Ethernet Cable
Use a Cat6 high-quality cable to ensure quality performance. Cat6 is constructed to support faster speeds and lower interference and is most often used in businesses. If you are really interested in the long-term life of a cable, then buy one that has solid copper wire conductors rather than copper-clad aluminum wire.
RJ45 Connectors
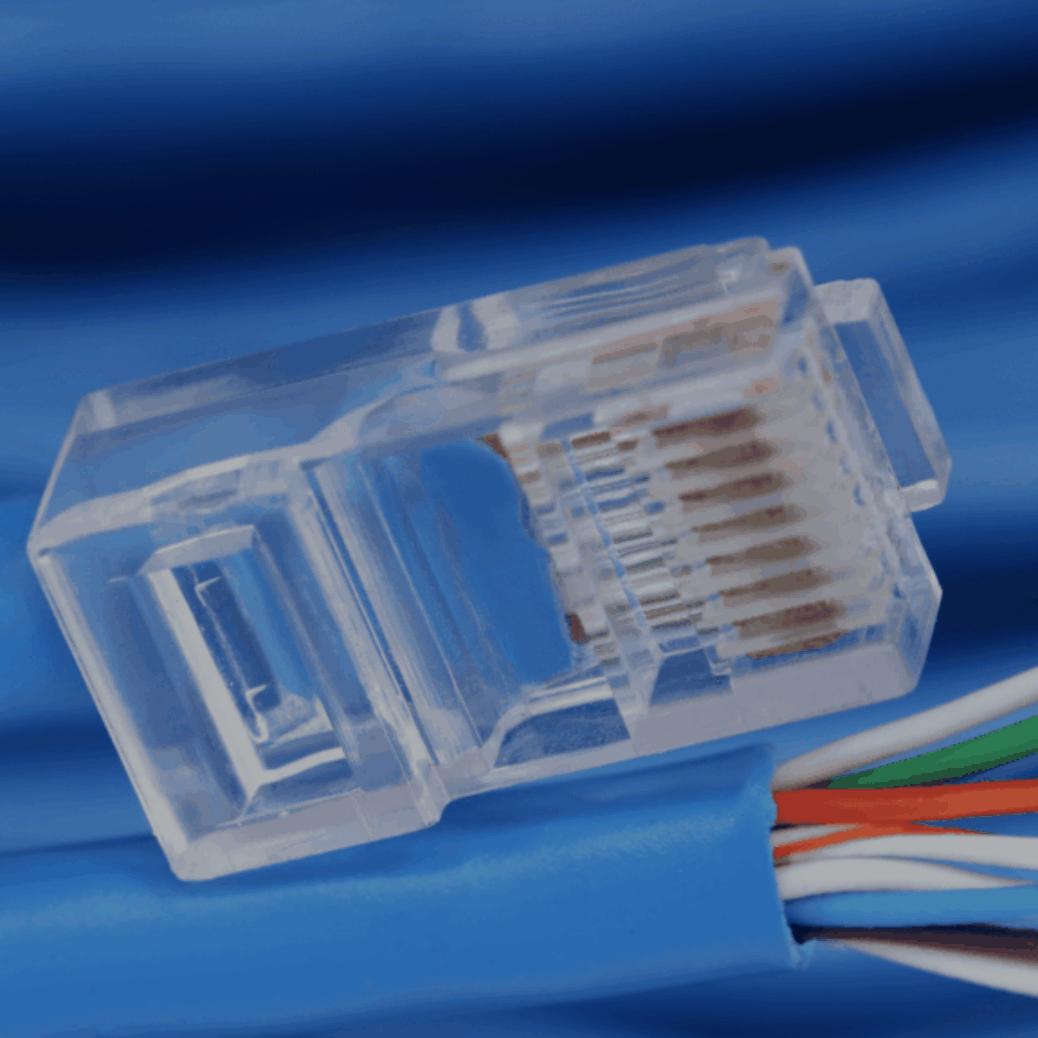
These connect Ethernet cables to devices, ensuring proper signal transmission and secure Cat6 termination. They are also important in making clean RJ45 termination and good professional finishing.
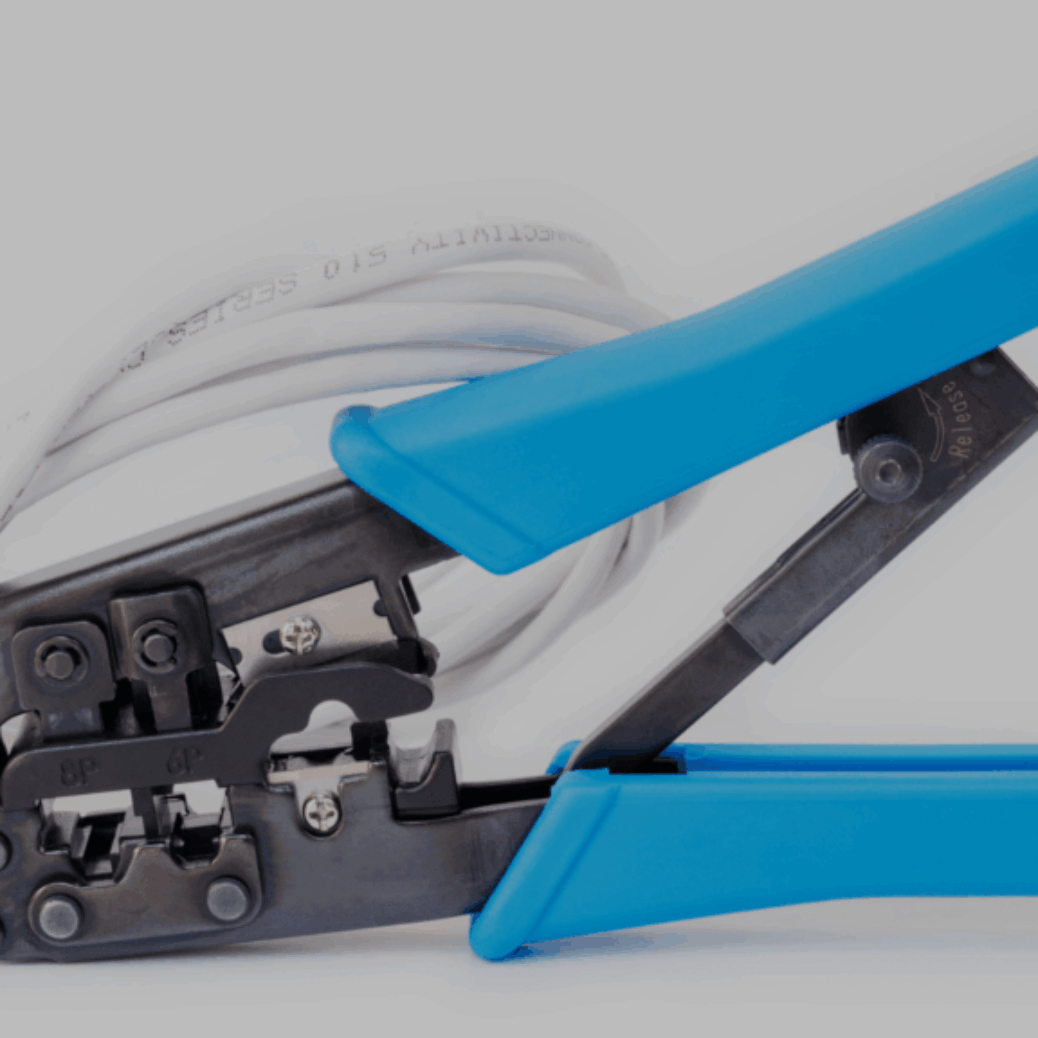
Crimping Tool (Cable Crimping Tips)
The RJ45 connectors are locked using a crimping tool on your Ethernet cable. Follow cable crimping tips, e.g., avoid twisting the wires before crimping them, to keep performance and signal integrity.
Wire Stripper & Scissors
With the help of a reliable wire stripper, it is not a difficult task to take out the cable jacket without damaging the inner pairs. Scissors make wire cutting smooth & clean for easier assembly.
Cable Tester
A tester will make sure your terminations are properly installed, and they can identify any miswiring or connection defects prior to final installation. Not doing this step causes so much troubleshooting later on.
Labeling Tools
Labeling is a non-negotiable aspect in larger projects that are undertaken by a structured cabling company. Even in the case of a DIY Ethernet installation, labeling cables can make it much easier later to troubleshoot the system and even perform any maintenance activities.
Keystone Jacks & Patch Panels
These are the components that are required in case of professional Cat6 cable installation services. Keystone jacks also provide neat wall outlets, and patch panels provide connection management in data rooms, which completes your installation in a user-friendly and expandable manner.
These tools and materials will allow you to get involved with small office networks as well as enterprise-level constructions, so your Ethernet cable installation business can offer both performance and professionalism.
Step-by-Step Guide to Cat6 Cable Termination
In case you are working with Cat6 bulk cables, then knowing how to terminate the cable the proper way can be what drives the difference between a reliable connection and hours of troubleshooting. A professional, such as Ethernet cable installation services, is sure to go through specific steps to ensure performance, but the right choice of a DIY Ethernet project can work as well. The following is a step-by-step guide that can be applied by beginners and experienced data cable installers.
Step 1: Prepare the Cable Jacket
Start by stripping 1–2 inches of the Cat6 cable jacket using the proper cable stripper to expose the twisted pairs. This step needs to be done carefully; it is important not to cut too deeply, risking nick learning the inner conductors or potentially causing performance or eventual connection breakages. Professional structured cabling teams use dedicated stripping tools instead of improvised blades to prevent errors.
Step 2: Untwist and Arrange the Pairs
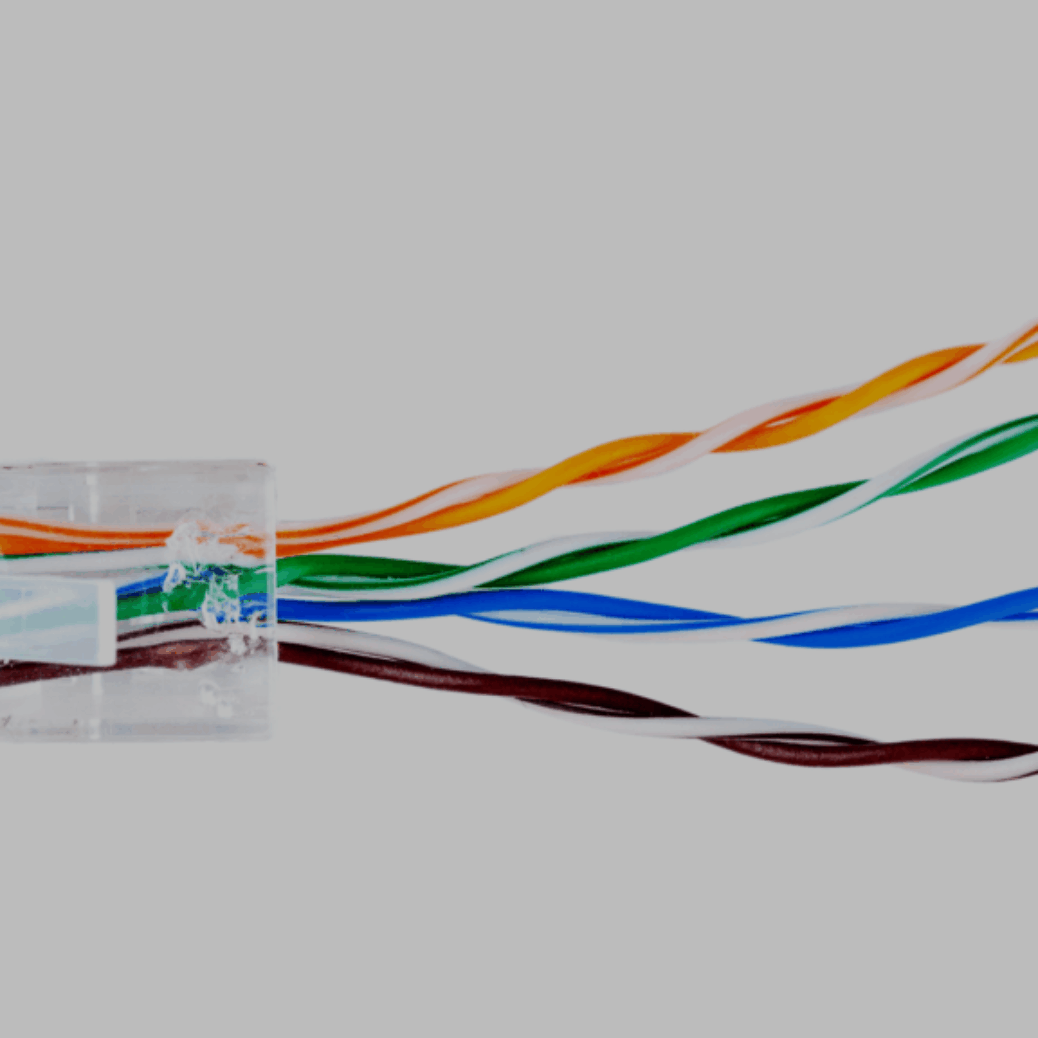
When the jacket is removed, you will find four pairs of twisted wires. Carefully detangle and straighten them up, and lay them down to the wiring standard you are working with, T568A or T568B. Both can work, but consistency is most important when using the same standard on each end of the cable.
- T568B: This is more common in office and commercial-type environments.
To maximise performance, the twists should be kept as near as possible to the termination point. This minimizes any interference on signals, a measure that is highlighted by professional Cat6 Cable Installation services.
Step 3: Align Wires for RJ45 Termination
At this point, you need to align the wires in the right sequence according to the standard you have adopted. Carefully straighten up every conductor and cut them evenly to ensure that they will glide into the RJ45 connector. Plug the wires into the connector, with all wires striving to be at the end of the slot, and the jacket of the cables sliding through the connector body just inside the connector. This provides improved strain relief and eliminates the loose connection.
Beginners often ignore wire alignment during RJ45 termination, causing mismatched pinouts or unreliable connections. Just to spend a few additional seconds and ensure the wire order will later save hours of frustration.
Step 4: Crimp the Connector
Insert the wires, and then insert the RJ45 connector into a good crimping tool. Squeeze tight so that the pins are pushed into the conductors. An adequate crimp provides good electrical contact and fixes the cable jacket within the connector.
The common errors are:
- Uneven insertion: Wires that fail to reach the termination point of the connector.
- Bad crimps: With poor-quality tools that do not lock the pins securely.
- Forgetting jacket support: If the cable jacket does not enter the connector, the wires could become loose with time.
Data cable installers highly recommend investing in a good crimping tool; it is worth the investment because it will provide a benefit in the lifetime and durability of the cable.
Step 5: Test the Cable
Do not assume that you can put a terminated cable into the service without testing. Check the continuity, pinout, and performance with a cable tester. Basic continuity testers test whether each wire continues end-to-end, and more serious ones can help check signal integrity.
During testing, check for:
- All green lights indicate proper conductor contact. Crossed or open wires signal a wiring problem.
- Crossed or open wires indicate a wiring problem during termination.
Teams of reputable structured cabling companies do test each and every cable prior to its deployment in order to ensure the good quality of the data or voice, or video system performance.
Avoid Common Mistakes with Ethernet Cable Installation Services
In the case of Ethernet cable installation services, any minor error may cause big headaches to businesses. Minor errors in Cat6 cable termination can cause network instability, slow speeds, and costly rework. The following are some of the pitfalls and how professional data cable installers or reputable structured cabling professionals can assist you to avoid them.
Over-stripping the jacket
Removal of the excessive outer jacket may affect the integrity of twists within the wires. It is the twists that guard against signal interference. In cases where the business or DIY Ethernet community strips too much, the cable can become deficient in performance. A professional installer has knowledge of how to expose a perfect amount without sacrificing quality.
Wrong wiring standard (T568A vs. T568B mismatch)
T568A and T568B wiring standards are often mixed up by newcomers. Combining them will end up with a crossover cable that is not functioning properly. Teams of professionals who install Cat6 cable services make sure that all terminations conform to the same standard throughout the network to become consistent.
Poor crimps mean loose connections
Loose or unreliable connections are frequently the result of sloppy RJ45 termination or hurried cable crimping. This may lead to intermittent failures that are daunting to solve. Experienced technicians operate professional equipment and put all crimps to the test to guarantee the long-term functionality.
Not testing cables before deployment
One of the worst errors committed during cable installation is skipping testing. An effective test is one that guarantees cables perform as expected and prevents costly downtimes in the future. Data cable workers always put the cable through a test before implementing a final stage installation to ensure reliability.
Using cheap connectors and tools
Looking to save a few bucks by using cheap connectors or inexpensive crimping tools can be a real problem. Cheap materials do not perform well and weaken the signal. The tools and connectors used by a structured cabling company are of professional grade, designed to deliver long-term durability and performance.
FAQs
Can I terminate Cat6 cables without a crimping tool?
While DIY Ethernet setups without a crimp tool are possible, they are not recommended. RJ45 terminations are highly ensured by professional data cable installers using special crimping tools. Lack of the appropriate tool can cause instability in the connection, which can cause poor performance or occurrences of frequent disconnections.
What’s the difference between Cat6 and Cat6a installation?
Cat6 cable installation supports speeds up to 1 Gbps and frequencies of 250 MHz. Cat6a alternatively doubles this capacity, holding 10 Gbps and a maximum of 500 MHz. For businesses that intend to implement long-term scalability or heavy data use, a structured cabling business will often recommend Cat6a.
Conclusion
Proper Cat6 cable termination enhances network speed, minimizes downtime, and extends cable lifespan. When you are working on a small Do It Yourself Ethernet, you can work on it with the proper tools and patience. However, where business networks are concerned, it is an absolute requirement to get professionally proficient. Avoid slow connections or expensive mistakes by leaving it to the specialists to get it right the first time.
Interested in upgrading your network? Call us today to book a consultation with our structured cabling company and get reliable Cat6 cable installation services and seamless network performance.

CORPORATE OFFICE
1509 W Hebron Parkway
Suite Number 150
Carrollton, TX 75010